How to Order Custom Printed Mailer Boxes in 2026
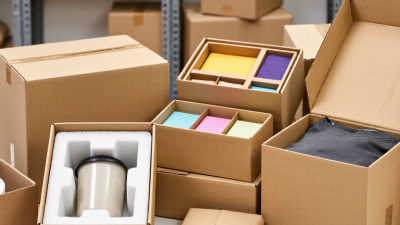
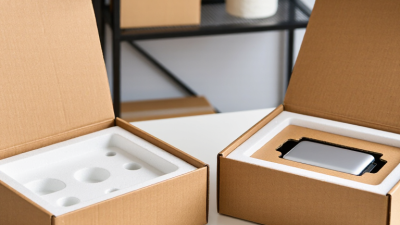
Ordering custom printed mailer boxes in 2026 is less about choosing a pretty design and more about making every box work. It must protect the product, fit the shipping workflow, and represent your brand clearly. A small candle, for example, may need a snug insert, while a folded shirt can often ship in a lighter, simpler mailer. Custom printed mailer boxes can help create a consistent unboxing experience, but only when size, material, and print choices suit the product.
Packaging specialist Lena Ortiz is a fictional expert used here to illustrate a practical principle: “A box earns its place when it protects the product and makes the brand easy to recognize.” Treat that as a useful test, not a verified quotation. Before requesting a quote, measure your product and note its weight, fragility, and packing method. Then compare box dimensions, board strength, printing options, minimum order quantities, and delivery estimates. Ask for a physical sample if possible. A screen preview cannot show how a box feels or folds.
The process is not always tidy. A vivid color may look different on kraft board, and a low unit price may come with a large minimum order. In 2026, confirm artwork specifications, production timelines, and any setup costs directly with the supplier. Test a packed sample through your normal handling steps before placing a larger order. One detail may still surprise you. That is worth discovering early. A thoughtful order balances appearance, protection, budget, and practical limits—without assuming one design will suit every product.
Specify Box Dimensions, Product Weight, and 32 ECT Board Strength
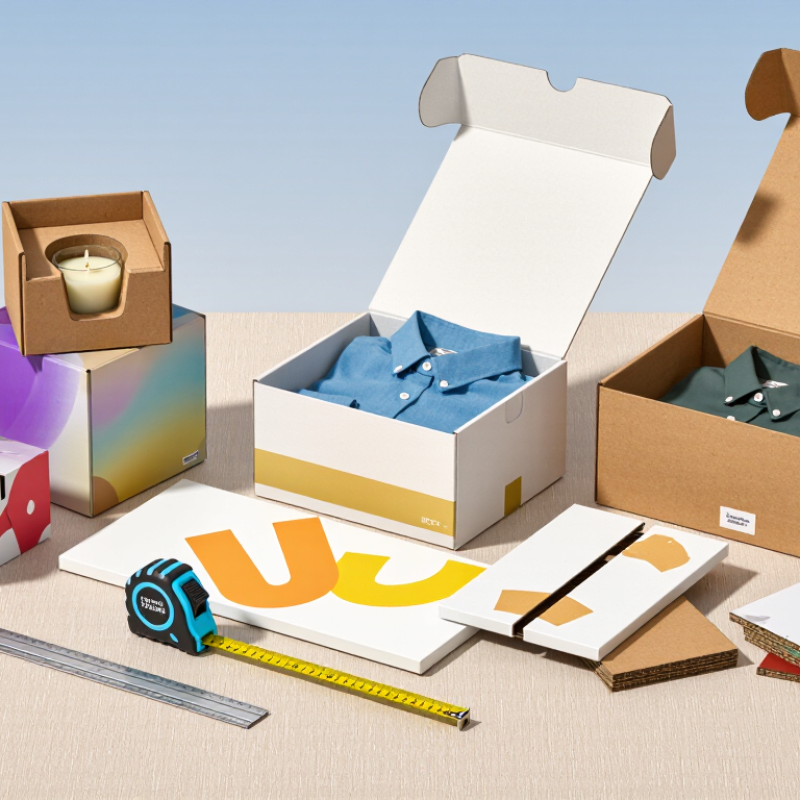
When ordering custom printed mailer boxes, provide the product’s exact dimensions and shipping weight. Specify the usable inside length, width, and depth. Measure the product at its widest points, including lids or protective sleeves. Allow room for cushioning, but avoid a loose fit that lets items slide. Small differences matter. A tight corner can crush during packing.
A 32 ECT rating means the corrugated board withstands 32 pounds of edge-crush force per linear inch under a standardized test. It does not guarantee a particular box can carry every product weight. Box size, stacking, moisture, and handling all affect performance. Share the packed weight and expected shipping conditions with your box supplier. Request a sample and test it with the actual product; printed prototypes can reveal fit issues that drawings miss. EPA’s 2018 Facts and Figures report estimates that 96.5% of corrugated boxes were recycled in the United States. Right-sizing can reduce excess material, though a lighter box is not always the better choice. Paperboard varies slightly. Check the fit and strength before approving a production order.
Choose Corrugated Flute: E-Flute Measures About 1.6 mm Thick
For custom printed mailer boxes, E-flute offers a slim profile without giving up the cushioning of corrugated board. It measures about 1.6 mm thick, with fine flutes that create a relatively smooth surface for detailed printing. The compact wall can also help a box fit neatly around products such as books, cosmetics, or small electronics. It is not indestructible.
Fibre Box Association industry statistics reported approximately 404 billion square feet of U.S. corrugated shipments in 2023, illustrating how widely corrugated packaging is used. That figure does not tell you which flute suits your product. For E-flute, check the board’s actual caliper and compression performance with your packaging supplier; paper weight, moisture, and manufacturing tolerances can change results. A sample filled with the real product is more useful than a pretty mock-up.
When ordering, provide the product’s dimensions and weight, then request a printed prototype. Fold it, close it, and test how it handles ordinary drops and stacking. A 1.6 mm wall may preserve shelf appeal, but it can be less forgiving than a thicker flute for heavy or fragile contents. I’ve seen box specifications look convincing on screen; the fit can still be wrong by a few millimeters. That small mistake matters.
Prepare Print Artwork at 300 dpi with Bleed and Safe Margins
Custom mailer boxes often arrive with artwork wrapped around corners, where even a small setup error can leave white slivers or clipped text. Build the file at its final print size and use 300 dpi for raster images; enlarging a small image later will not restore detail. Add bleed beyond every cut edge—often 3 mm, but confirm the printer’s dieline—and keep logos, barcodes, and small type inside the safe area. ISO 12647-2 describes process-control requirements for four-colour printing; consistent colour still depends on the printer’s equipment and materials. Smithers’ The Future of Package Printing to 2028 estimated the global package-printing market at $431.6 billion in 2020, underscoring how much packaging relies on production-ready files.
Tips: Place the dieline on a separate, clearly named layer, and do not include it in the printed artwork unless requested. Keep critical text at least 3–5 mm from cut and crease lines. Export a print-ready PDF, embed fonts, and inspect it at 100% zoom. Tiny type can look fine on screen. On a folded box, it may not.
Before approving production, request a physical proof when colour or alignment is critical. Check the printed sample under ordinary lighting, then inspect corners, folds, and glue flaps. The 300 dpi rule is a useful starting point, not a guarantee: fine lines, metallic effects, and textured board may reproduce differently. That’s easy to overlook.
How to Order Custom Printed Mailer Boxes in 2026 - Prepare Print Artwork at 300 dpi with Bleed and Safe Margins
| Artwork Area |
Recommended Preparation |
Practical Check |
| Artwork resolution |
Prepare placed raster images at 300 dpi at their final printed size. |
A 4 × 6 in image at 300 dpi needs 1,200 × 1,800 pixels. Enlarging a smaller image can reduce print sharpness. |
| Bleed |
Extend backgrounds and other edge-to-edge artwork beyond the cut line. Use the bleed amount specified in the box printer’s dieline. |
A common starting point is 0.125 in (3.175 mm) per edge. At 300 dpi, that is about 38 pixels; confirm the required amount before export. |
| Safe margins |
Keep text, logos, and other essential details inside the safe area shown on the dieline. |
As a preliminary guide, keep important content at least 0.125 in (3.175 mm) from cut and crease lines; use a larger margin if the dieline requires it. |
| Dieline and folds |
Build the layout on the approved dieline at its stated scale. Keep cut, crease, and perforation guides distinct from printable artwork. |
Check panel orientation and glue flaps, and avoid placing small text or critical details directly across folds. |
| Color setup |
Use the color mode, profile, and ink setup requested by the printer. Process-color work commonly uses CMYK; some jobs may use spot colors. |
RGB-to-CMYK conversion can change appearance. Request a proof when color matching is important. |
| Fonts and line art |
Embed or outline fonts as requested, and retain a separate editable source file when possible. Use vector artwork for logos and line art when available. |
Check small type, thin strokes, and reversed-out text at actual size, especially on textured or uncoated board. |
| Final file and proof |
Export the file format and PDF settings requested by the printer, with the approved dieline and bleed included as directed. |
Review the prepress proof for panel placement, spelling, color, folds, and trim. Confirm the final dimensions and specifications before production. |
Note: Bleed, safe-area, color, and file requirements vary by printer and box construction. Use the approved dieline and production instructions for the specific order.
Compare Digital and Flexographic Quotes by MOQ and Setup Costs
When ordering custom printed mailer boxes in 2026, compare the full cost, not just the price per box. A digital quote usually has lower setup costs and suits short runs, seasonal designs, or several artwork versions. Flexographic printing often requires plates and more preparation, but its unit cost can fall on larger, repeat orders. Ask each supplier to separate plate charges, proofing, shipping, and any repeat-order fees. Small print details matter: a dark logo on kraft board may look different from the same file on white liner.
Smithers’ industry forecast, The Future of Digital Print for Packaging to 2028, projected the digital packaging print market would reach about US$36.9 billion by 2028. That growth signals wider adoption, not automatic savings on every order. Request quotes at several quantities, such as 250, 1,000, and 5,000 boxes, and compare total landed cost alongside minimum order quantity. Also ask whether digital pricing includes color matching and whether flexographic setup can be reused for later runs. Get a physical sample if color accuracy is critical. It takes time.
A low MOQ can reduce leftover inventory, but the unit price may sting. A higher flexographic quantity can look efficient on paper and still tie up cash in storage. Compare like with like: same board grade, dimensions, print coverage, and delivery terms. Quote tables can miss practical issues, and suppliers do not always define “setup” the same way. Ask for that definition in writing before approving artwork.
How to Order Custom Printed Mailer Boxes in 2026: Digital vs. Flexographic Quotes
Compare example minimum order quantities (MOQ) and setup costs. The figures below are illustrative planning assumptions, not market averages or supplier quotes; actual costs and MOQs vary by box size, materials, print coverage, and supplier.
Digital printing typically avoids printing plates and can suit shorter runs. Flexographic printing requires plate setup, which can make small orders less economical, while larger runs may benefit from lower unit costs. Request itemized quotes that show setup, per-box pricing, and MOQ separately.
Approve a Preproduction Proof and Check Shipping Safety with ISTA 3A
How to Order Custom Printed Mailer Boxes in 2026
Approve a Preproduction Proof and Check Shipping Safety with ISTA 3A
Before a production run, review a physical preproduction proof under the lighting used for packing. Check that small text is readable, colors look consistent, and artwork sits clear of folds and glue seams. Open and close the box several times. Look for tabs that catch, panels that bow, or edges that split. A digital file cannot reveal every issue. Approve the proof only after confirming its dimensions, board grade, print placement, and closure match the agreed specifications. Keep a signed or dated reference for comparison.
Tips: Pack the proof with the actual product, inserts, and protective materials. Measure the filled box, not just the flat sample. Take photos of any defects and request corrections in writing.
A box that looks sturdy on a desk may behave differently in parcel shipping. Ask whether the packed design should be evaluated using ISTA 3A, a procedure for packaged products shipped through parcel delivery systems. Testing can expose risks from drops, vibration, and compression, but results depend on the tested package and setup. Use a representative production-style box with realistic contents and packing materials. Review damage, movement, and closure performance with the testing provider. If a corner crushes or the product shifts, revise the structure or cushioning, then consider retesting. One honest limitation: a successful test does not promise damage-free delivery in every route or handling condition.